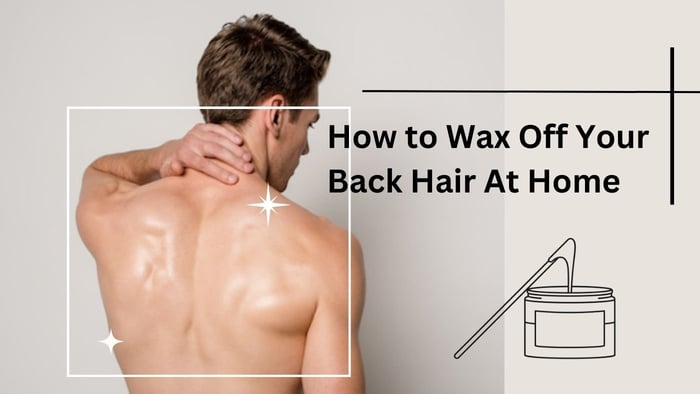
A smooth back is the ultimate symbol of confidence and pampering. It’s a surface for tank tops, swimwear, and those moments when you want to feel your best. But getting there can be a nightmare.
Razors offer temporary relief but often lead to irritation and ingrown hairs. Shaving your back is a whole other story. Salon appointments are expensive and time-consuming. Go for home waxing – a method that delivers long-term results, convenience, and self-indulgence.
This article will take you through the process from start to finish, from prep to post-wax care, so you can get the smooth back you’ve always wanted.
Preparation is Key
Proper preparation is the foundation of a good at-home waxing session. It ensures the best results and minimizes discomfort. Let’s start with the basics.
Your hair length is key. For waxing to be effective, hair should be ¼ to ½ inch long. If it’s shorter, the wax won’t grip properly. If it’s longer, it will be more painful and messy.
Exfoliation is your skin’s best friend before waxing. By removing dead skin cells, you prevent ingrown hairs and ensure the wax adheres to the hair, not the skin. Use a gentle exfoliator a day or two before your waxing session.
A clean canvas is key for optimal wax adhesion. Gently clean your back with a mild cleanser to remove dirt, oil, and sweat. Make sure the area is completely dry before applying the wax.
Choosing the right wax is crucial. Hard wax is best for larger areas like the back as it grips the hair without sticking to the skin. Soft wax used with strips can also work but requires more precision. Consider your skin sensitivity when making your choice.
Now, get your tools. Wax, wax warmer (if using hard wax), wax strips (if using soft wax), spatula for application, talcum powder to reduce stickiness, and soothing lotion for after-wax care.
Waxing Technique
Now that your skin is prepped and ready, it’s time to get waxing. This section will walk you through applying the wax, removing the strips, and cleaning up any residue. Let’s get that smooth back you want.
Wax Heating and Application
Making sure the wax is at the right temperature is key to a good waxing. Overheated wax will burn; wax that’s too cold won’t stick. Follow the instructions for your wax type for heating and application. Hard wax should be honey-like, and soft wax should be warm but not runny.
Strip Placement
Make sure the strip covers the whole area you want to wax. Press down hard.
The Big Pull
Now! Hold the skin taut with one hand and pull the strip in the opposite direction of hair growth. Keep the strip close to the skin for a cleaner removal. Breathe out as you pull.
Use a light oil or baby oil to remove wax residue. Wipe with a soft cloth. Don’t use water it will set the wax.
After Wax Care
Your skin has just had a mini workout, so be kind to it! Apply aloe vera gel or fragrance-free moisturizer to the waxed area to soothe and heal. No hot showers or baths for 24 hours after waxing as this can irritate the skin.
Preventing ingrown hairs is key to a smooth hair hair-free back. Exfoliating regularly helps remove dead skin cells from clogging the hair follicles. Keep the waxed area clean and moisturized to reduce the risk of ingrown hairs.
Moisturizing is key to healthy skin. Keep moisturizing to keep your skin soft and silky. Look for products with hyaluronic acid or shea butter for extra moisture.
Protect your newly waxed skin from the sun. UV rays can irritate and damage the skin. Apply a broad-spectrum sunscreen with SPF 30 or higher whenever you go out.
Troubleshooting and Skin Care
Waxing can be unpredictable. From discomfort to skin reactions, you need to know how to deal with the unexpected.
Here, we’ll give you tips to troubleshoot any issues and keep your skin healthy and smooth after waxing.
Mistakes to avoid: Don’t pull the wax strip too slowly; it will hurt more and not work as well. Don’t overheat the wax. It will burn you. Don’t underheat the wax, and it won’t stick properly.
Discomfort: To minimize pain, exfoliate before, take over-the-counter pain relievers if needed, and breathe deeply during the waxing process.
Skin Reactions: If you get redness or mild irritation, apply a cold compress. If you get bumps or a rash, see a dermatologist.
Why IPL over Waxing?
Waxing is a temporary solution, and IPL (Intense Pulsed Light) removal is a long term solution to hair reduction. Waxing can be painful and time-consuming; IPL targets the hair follicles directly and inhibits hair growth over time.
This is gentler on the skin and a more permanent solution. Devices like INIA HAUTE IPL Hair Removal Device is a cutting-edge solution for achieving salon-quality results at home. Equipped with double pulse technology, it delivers twice the energy in each pulse, accelerating hair reduction.
To cater to diverse skin sensitivities and hair types, it offers five adjustable energy levels. Its large treatment window efficiently covers more area, saving time. For safety, a skin tone sensor prevents accidental overexposure, while the cordless design provides flexibility and convenience during use.
By choosing IPL, you’ll have smoother skin with less hair regrowth and save time and effort in the long run.
Conclusion
You now have a guide to get a smooth back at home! With the right preparation, technique, and aftercare, you can do this yourself and get long-lasting results. But if you want a more permanent solution with less hassle, consider the benefits of IPL technology.
$119.99
Hair Root Elimination Salon smooth skin in 4 weeks. Our advanced IPL technology penetrates deep to permanently damage hair follicles for lasting smoothness. Experience up to 86.6% hair reduction after 12 weekly sessions. The ultimate at-home alternative to expensive laser… More InformationINIA HAUTE IPL Hair Removal Device

$269.99
INIA HAUTE IPL Hair Removal Device is a cutting-edge, gentle alternative to traditional waxing. For home use, it gives salon results with adjustable settings and a large treatment window. Say goodbye to frequent waxing and hello to long-term smoothness.


