
Start with clean, dry skin, inspect the device, fit the mask comfortably, choose only a mode listed for your model, and let its timer or automatic stop end the session. Apply leave-on skincare afterward unless the manual says otherwise, then clean, dry, and store the mask as directed.
Table of Contents
Before Your First Session
Red light masks can look similar while using different controls, timers, eye accessories, charging systems, and precautions. Before switching yours on, find the exact model name on the device, packaging, order record, or supplied instructions. Read the sections on warnings, eye guidance, skincare preparation, cleaning, and storage.
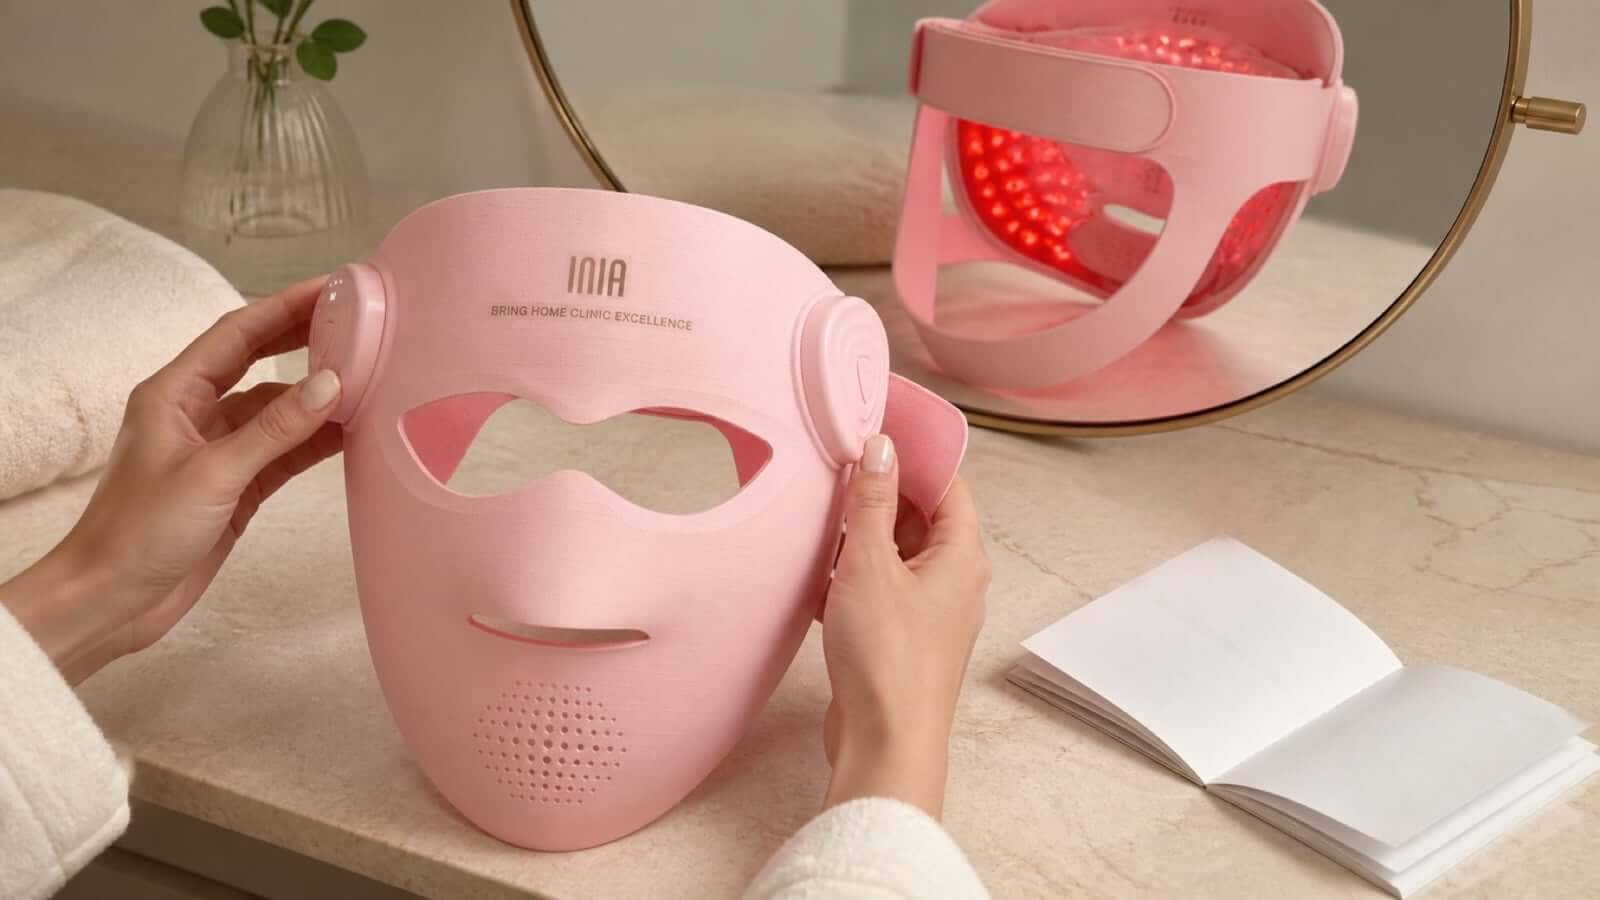
Lay out the parts supplied with your model. Inspect the surfaces that touch the skin, check the straps and connectors, and look for moisture, residue, cracks, loose parts, or cable damage. Do not start a session with a wet, damaged, or repeatedly faulting device.
How to Use a Red Light Therapy Mask in Six Steps
| Step | What to do | What to avoid |
|---|---|---|
| 1. Identify | Match the mask, controller, cable, and accessories to the exact instructions. | Do not borrow settings or accessories from another model. |
| 2. Inspect | Check cleanliness, condition, connections, straps, and battery status. | Do not use a wet, damaged, or repeatedly faulting unit. |
| 3. Prepare | Unless directed otherwise, cleanse and dry the face and remove makeup and sunscreen. | Do not place an unapproved leave-on product under the mask. |
| 4. Fit | Center the eye, nose, and mouth openings, then adjust the straps gradually. | Do not overtighten or accept painful pressure for closer contact. |
| 5. Run | Select a mode named in the instructions and let the stated timer end the session. | Do not extend the session, stack modes, or copy a creator's routine. |
| 6. Finish | Remove the mask, check the skin, power down, then clean, dry, and store it. | Do not submerge the device or use an unapproved cleaner. |
Use It Before Leave-On Skincare
Unless your device instructions specify a compatible product, the simplest routine is to cleanse, pat the skin dry, complete the light session, and then apply serum, moisturizer, and daytime sunscreen. This keeps makeup, oil, thick cream, and sunscreen from sitting between the LEDs and the skin.

| Routine step | Typical order | Practical reason |
|---|---|---|
| Cleanser | Before the session | Removes makeup, sunscreen, and surface residue. |
| Red light mask | Before most leave-on products | Keeps the routine simple and repeatable. |
| Serum | After the session | Adds hydration or treatment without sitting under the mask. |
| Moisturizer | After serum | Supports comfort and the skin barrier. |
| Sunscreen | Last in a morning routine | Provides daytime UV protection. |
For product-by-product sequencing, see whether to use red light therapy before or after skincare. If you use retinol or exfoliating acids, introduce one variable at a time and see how to separate retinol and red light therapy when skin feels dry or reactive.
Check the Fit, Controls, and Eye Setup
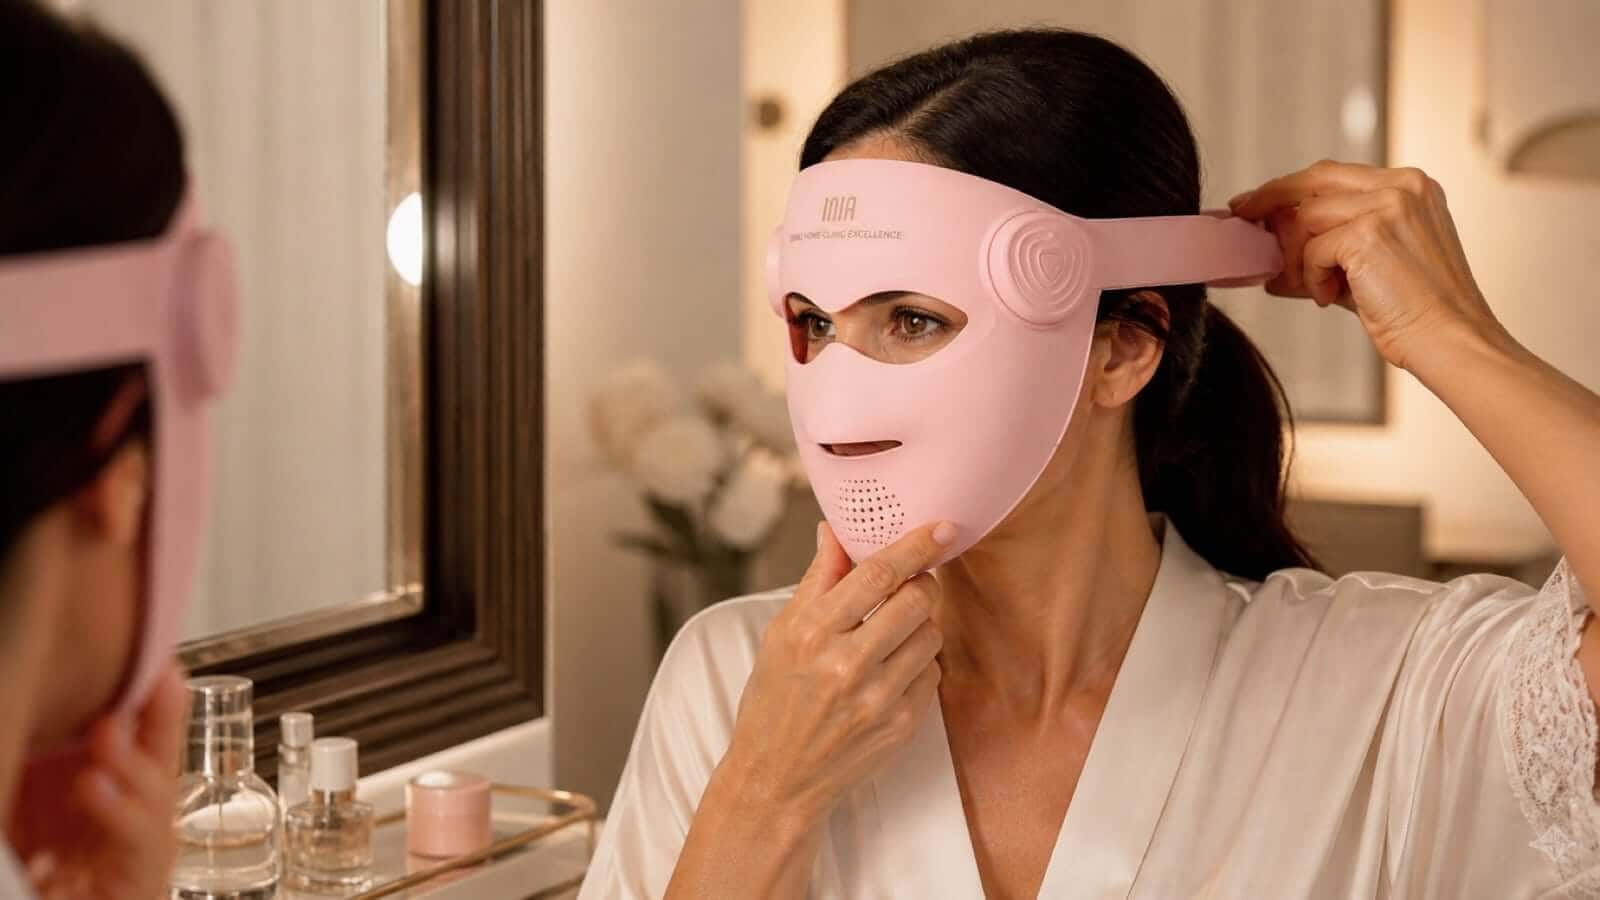
Hold the mask in place before tightening the straps. Align the openings, confirm comfortable breathing, and check the nose bridge, cheeks, temples, jaw, and ears for sharp pressure. Tighten gradually until the mask is stable—not painful. Fit varies by face shape, and pressing harder is not proof of a better session.
Before starting, identify the power action, mode selector, timer or automatic stop, display or indicator, and any removable accessory. Never infer a mode's purpose from the color of the light alone. Use only the mode descriptions supplied for your exact model.
For a more detailed fit check, see how to wear a red light therapy mask correctly.
Let the Device Set the Session Time
There is no universal session length for every red light mask. Duration and frequency depend on the device's output, modes, treatment design, and instructions. Use the stated session time or automatic stop for your model, and complete one session rather than extending it because the light feels gentle.
Do not double the next session after a missed day or stack several modes unless the instructions explicitly allow it. A repeatable schedule is more useful than occasional extra-long sessions. For weekly planning, see how often to do red light therapy on your face.
Use This Routine With INIA GLOW 4D
If your unit is INIA GLOW 4D, use the manual supplied with that exact mask as the final source for mode selection, session duration, eye setup, charging, accessories, cleaning, and storage. Do not transfer instructions from another GLOW model simply because the masks look similar.

The photographs in this guide show the physical routine—preparing the skin, positioning the mask, completing a session, and cleaning afterward. They do not establish a universal setting or predict an individual result. Confirm the current product and package details on the INIA GLOW 4D product page.
Watch a GLOW 4D Fit and Controls Demonstration
About this video: Beauty editor Janene Mascarella (@janene_mascarella) posted this promotional INIA GLOW 4D demonstration on December 1, 2025. It shows the mask's fit, straps, charging point, illuminated interior, and light modes.
What to Look for in the Demonstration
Notice how the flexible mask follows the facial contours, how the straps support the fit, where the charging point sits, and how the illuminated modes appear. Use those visible details only to help identify the parts of your own device.
This creator demonstration does not replace the supplied instructions, establish clinical performance, or predict an individual result. If playback fails, open the original Instagram post.
Clean, Dry, and Store the Mask After Use
Power the mask down and disconnect only the parts the instructions tell you to remove. Clean skin-contact surfaces by the approved method, paying attention to the eye area, nose bridge, and lower-face contact points. Do not submerge the mask or let liquid enter controls, ports, or connectors.
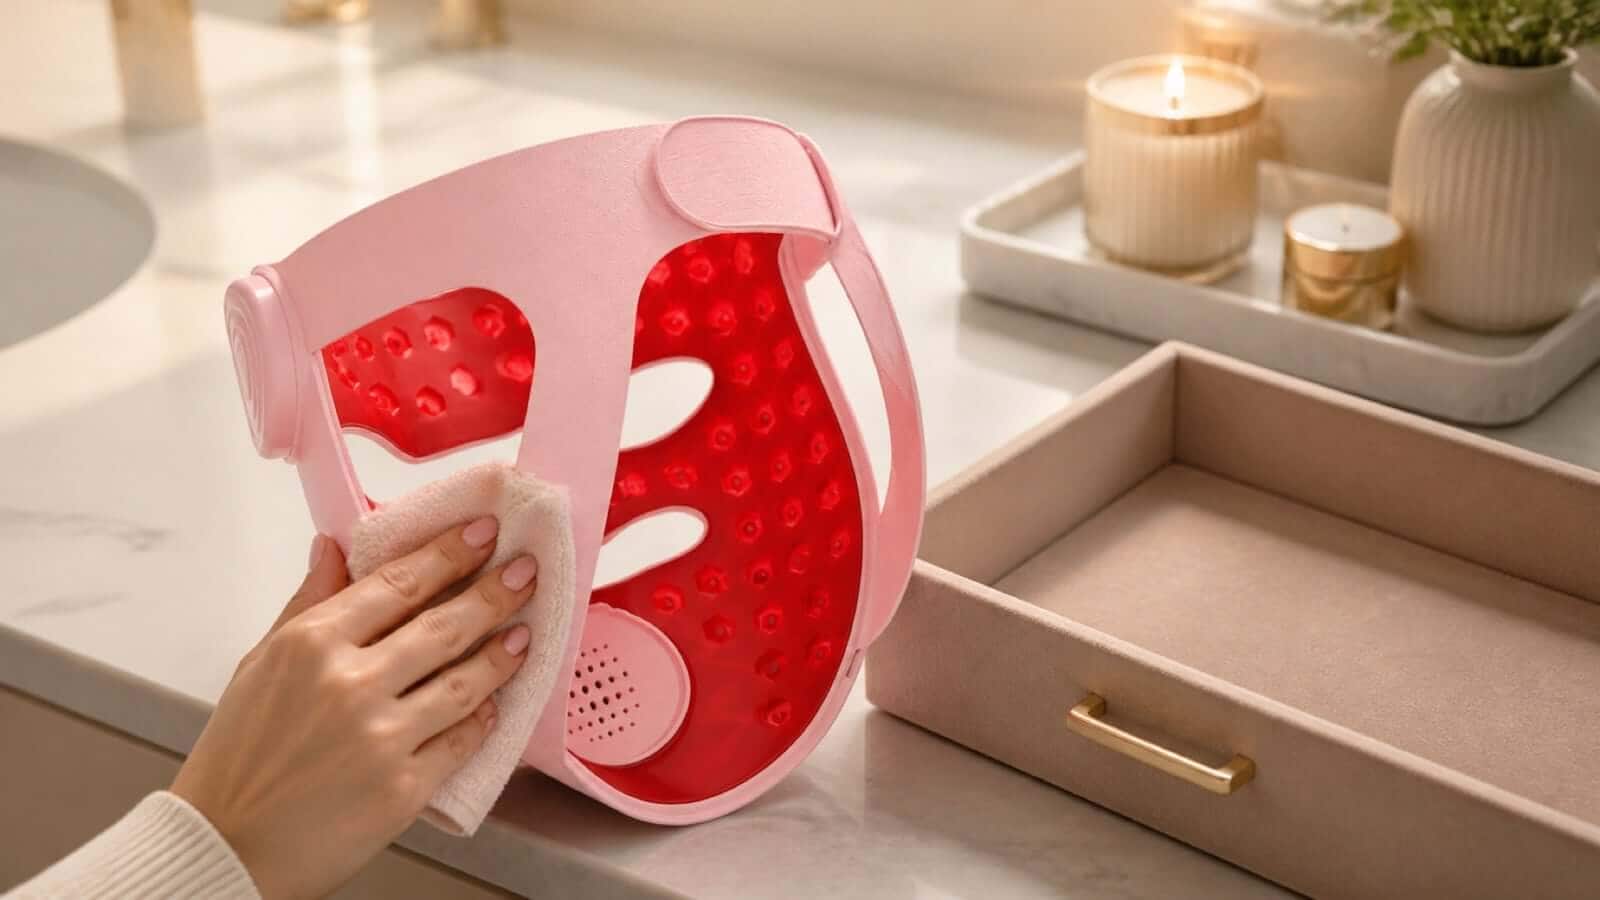
Let the device and approved accessories dry fully before storing them in a clean, dry place. Keep the cable and connectors free from tension, and use only the charging setup specified for the device. Unless the instructions explicitly permit it, do not wear the mask while it is charging.
Stop and Troubleshoot Without Improvising
Something feels or behaves unexpectedly
- There is painful pressure, unexpected heat, marked irritation, headache, or a visual symptom.
- Brightness remains uncomfortable with the specified eye setup.
- You notice moisture, damage, loose parts, or repeated shutdowns.
Use the model-specific troubleshooting steps
- Reposition the mask and loosen painful strap pressure.
- Check the listed battery, connection, indicator, timer, and active-mode steps.
- Contact support if the approved steps do not solve the problem.
Keep the Routine Simple and Device-Specific
Identify and inspect the mask, start with clean skin, fit it comfortably, use the listed mode and timer, then clean and store it correctly. The best routine is not the longest or most complicated one—it is the one that follows the instructions for your exact device and remains comfortable enough to repeat.
Frequently Asked Questions
Should I use a red light mask before or after skincare?
Unless the instructions name a compatible product, cleanse and dry the face, use the mask, then apply serum, moisturizer, and daytime sunscreen afterward.
How long should I use red light therapy on my face?
Use the session length or automatic stop stated for your exact device. Do not copy a duration from another mask, panel, or creator demonstration.
How often should I use a red light mask?
Follow the schedule supplied with your model and adjust only within its instructions. Do not double a later session to make up for a missed one.
Do I need eye protection?
Use the eye pieces, inserts, or protection specified for your device. Do not substitute sunglasses or another mask's accessories.
Can I use retinol with red light therapy?
Keep the light session on clean skin unless the instructions say otherwise. If retinol makes the skin dry or reactive, separate the routines and ask a dermatologist for personal guidance.
What if the mask will not turn on?
Power it off, check the battery, approved charging setup, connections, and indicators listed in the troubleshooting section, then contact support if the problem continues.
References and Related Guides
Start with clean, dry skin, inspect the device, fit the mask comfortably, choose only a mode listed for your model, and let its timer or automatic stop end the session. Apply leave-on skincare afterward unless the manual says otherwise, then clean, dry, and store the mask as directed.
Table of Contents
Before Your First Session
Red light masks can look similar while using different controls, timers, eye accessories, charging systems, and precautions. Before switching yours on, find the exact model name on the device, packaging, order record, or supplied instructions. Read the sections on warnings, eye guidance, skincare preparation, cleaning, and storage.
Lay out the parts supplied with your model. Inspect the surfaces that touch the skin, check the straps and connectors, and look for moisture, residue, cracks, loose parts, or cable damage. Do not start a session with a wet, damaged, or repeatedly faulting device.
How to Use a Red Light Therapy Mask in Six Steps
| Step | What to do | What to avoid |
|---|---|---|
| 1. Identify | Match the mask, controller, cable, and accessories to the exact instructions. | Do not borrow settings or accessories from another model. |
| 2. Inspect | Check cleanliness, condition, connections, straps, and battery status. | Do not use a wet, damaged, or repeatedly faulting unit. |
| 3. Prepare | Unless directed otherwise, cleanse and dry the face and remove makeup and sunscreen. | Do not place an unapproved leave-on product under the mask. |
| 4. Fit | Center the eye, nose, and mouth openings, then adjust the straps gradually. | Do not overtighten or accept painful pressure for closer contact. |
| 5. Run | Select a mode named in the instructions and let the stated timer end the session. | Do not extend the session, stack modes, or copy a creator's routine. |
| 6. Finish | Remove the mask, check the skin, power down, then clean, dry, and store it. | Do not submerge the device or use an unapproved cleaner. |
Use It Before Leave-On Skincare
Unless your device instructions specify a compatible product, the simplest routine is to cleanse, pat the skin dry, complete the light session, and then apply serum, moisturizer, and daytime sunscreen. This keeps makeup, oil, thick cream, and sunscreen from sitting between the LEDs and the skin.
| Routine step | Typical order | Practical reason |
|---|---|---|
| Cleanser | Before the session | Removes makeup, sunscreen, and surface residue. |
| Red light mask | Before most leave-on products | Keeps the routine simple and repeatable. |
| Serum | After the session | Adds hydration or treatment without sitting under the mask. |
| Moisturizer | After serum | Supports comfort and the skin barrier. |
| Sunscreen | Last in a morning routine | Provides daytime UV protection. |
For product-by-product sequencing, see whether to use red light therapy before or after skincare. If you use retinol or exfoliating acids, introduce one variable at a time and see how to separate retinol and red light therapy when skin feels dry or reactive.
Check the Fit, Controls, and Eye Setup
Hold the mask in place before tightening the straps. Align the openings, confirm comfortable breathing, and check the nose bridge, cheeks, temples, jaw, and ears for sharp pressure. Tighten gradually until the mask is stable—not painful. Fit varies by face shape, and pressing harder is not proof of a better session.
Before starting, identify the power action, mode selector, timer or automatic stop, display or indicator, and any removable accessory. Never infer a mode's purpose from the color of the light alone. Use only the mode descriptions supplied for your exact model.
For a more detailed fit check, see how to wear a red light therapy mask correctly.
Let the Device Set the Session Time
There is no universal session length for every red light mask. Duration and frequency depend on the device's output, modes, treatment design, and instructions. Use the stated session time or automatic stop for your model, and complete one session rather than extending it because the light feels gentle.
Do not double the next session after a missed day or stack several modes unless the instructions explicitly allow it. A repeatable schedule is more useful than occasional extra-long sessions. For weekly planning, see how often to do red light therapy on your face.
Use This Routine With INIA GLOW 4D
If your unit is INIA GLOW 4D, use the manual supplied with that exact mask as the final source for mode selection, session duration, eye setup, charging, accessories, cleaning, and storage. Do not transfer instructions from another GLOW model simply because the masks look similar.
The photographs in this guide show the physical routine—preparing the skin, positioning the mask, completing a session, and cleaning afterward. They do not establish a universal setting or predict an individual result. Confirm the current product and package details on the inia red light mask product page for INIA GLOW 4D.
Watch a GLOW 4D Fit and Controls Demonstration
About this video: Beauty editor Janene Mascarella (@janene_mascarella) posted this promotional INIA GLOW 4D demonstration on December 1, 2025. It shows the mask's fit, straps, charging point, illuminated interior, and light modes.
What to Look for in the Demonstration
Notice how the flexible mask follows the facial contours, how the straps support the fit, where the charging point sits, and how the illuminated modes appear. Use those visible details only to help identify the parts of your own device.
This creator demonstration does not replace the supplied instructions, establish clinical performance, or predict an individual result. If playback fails, open the original Instagram post.
Clean, Dry, and Store the Mask After Use
Power the mask down and disconnect only the parts the instructions tell you to remove. Clean skin-contact surfaces by the approved method, paying attention to the eye area, nose bridge, and lower-face contact points. Do not submerge the mask or let liquid enter controls, ports, or connectors.
Let the device and approved accessories dry fully before storing them in a clean, dry place. Keep the cable and connectors free from tension, and use only the charging setup specified for the device. Unless the instructions explicitly permit it, do not wear the mask while it is charging.
Stop and Troubleshoot Without Improvising
Something feels or behaves unexpectedly
- There is painful pressure, unexpected heat, marked irritation, headache, or a visual symptom.
- Brightness remains uncomfortable with the specified eye setup.
- You notice moisture, damage, loose parts, or repeated shutdowns.
Use the model-specific troubleshooting steps
- Reposition the mask and loosen painful strap pressure.
- Check the listed battery, connection, indicator, timer, and active-mode steps.
- Contact support if the approved steps do not solve the problem.
Keep the Routine Simple and Device-Specific
Identify and inspect the mask, start with clean skin, fit it comfortably, use the listed mode and timer, then clean and store it correctly. The best routine is not the longest or most complicated one—it is the one that follows the instructions for your exact device and remains comfortable enough to repeat.
Frequently Asked Questions
Should I use a red light mask before or after skincare?
Unless the instructions name a compatible product, cleanse and dry the face, use the mask, then apply serum, moisturizer, and daytime sunscreen afterward.
How long should I use red light therapy on my face?
Use the session length or automatic stop stated for your exact device. Do not copy a duration from another mask, panel, or creator demonstration.
How often should I use a red light mask?
Follow the schedule supplied with your model and adjust only within its instructions. Do not double a later session to make up for a missed one.
Do I need eye protection?
Use the eye pieces, inserts, or protection specified for your device. Do not substitute sunglasses or another mask's accessories.
Can I use retinol with red light therapy?
Keep the light session on clean skin unless the instructions say otherwise. If retinol makes the skin dry or reactive, separate the routines and ask a dermatologist for personal guidance.
What if the mask will not turn on?
Power it off, check the battery, approved charging setup, connections, and indicators listed in the troubleshooting section, then contact support if the problem continues.